Ensuring your vehicle’s braking system is in good condition is vital for your safety and the longevity of your car. Brake pads are a key component, gradually wearing down as they help stop your vehicle. Regularly inspecting your brake pads helps you wear early, avoid costly repairs, and maintain optimal braking performance.
The good news is—you don’t always need to remove your wheels or visit a mechanic for a basic check. With a careful approach and some common tools, you can assess your brake pads right at home.
Why Should You Check Brake Pads Regularly?
Brake pads are designed to wear out over time. The process is gradual, but neglecting their condition can lead to dangerous driving situations and expensive repairs. Here’s why regular inspection matters:
- Safety: Thin or worn-out pads reduce braking power, increasing stopping distance and risk of accidents.
- Cost Savings: Replacing pads before they are completely worn prevents damage to rotors and other brake components.
- Legal Compliance: Many areas require a minimum brake pad thickness for a vehicle to be roadworthy.
- Peace of Mind: Early detection of wear means fewer surprises and breakdowns.
Typical brake pad life is between 30,000 and 70,000 miles, depending on your driving habits, vehicle type, and brake material. Heavy city driving, towing, or aggressive braking can reduce this lifespan, while mostly highway driving can extend it.
Signs That Indicate Brake Pad Wear
Before you physically check your pads, pay attention to these common warning signs:
- Squealing or Screeching: Many brake pads have a built-in indicator that emits a high-pitched noise when the pad material is low.
- Grinding Noise: If you hear grinding, the pad may be worn through, and metal is contacting the rotor.
- Vibration During Braking: Uneven wear or a warped rotor can cause vibrations in the brake pedal or steering wheel.
- Longer Stopping Distances: If your car takes longer to stop or the pedal feels soft, your pads could be too thin.
- Dashboard Warning Light: Some vehicles have electronic sensors that trigger a warning when pads are low.
While specialized tools aren’t necessary, having the following items will make the inspection easier:
- Bright Flashlight or Work Light: To illuminate the caliper and pad area through the wheel.
- Inspection Mirror: To see behind the caliper or in tight spaces, especially useful for rear brakes.
- Smartphone (with Camera): For taking photos or videos through the wheel spokes to review pad condition.
- Gloves and Eye Protection: To keep your hands clean and protect your eyes.
- Optional: A thin ruler, caliper gauge, straw, or zip tie for measuring pad thickness, if accessible.
Step-By-Step Guide: Inspecting Brake Pads Without Removing the Wheel
1. Position Your Vehicle Safely
- Park on a flat, level surface.
- Engage the parking brake.
- Turn off the engine.
- Allow brakes to cool for at least 15–30 minutes if recently driven.
- Chock the wheels for added safety.
2. Turn the Steering Wheel for Better Access
- Start the car and turn the steering wheel fully to the left or right to expose the caliper and pads behind the front wheels.
- For rear brakes, access may be more limited, but an inspection mirror or camera helps.
3. Locate the Brake Caliper and Pads
- Look through the spokes of your wheel. Most alloy wheels have enough openings to see the caliper and, often, the pads themselves.
- The brake pad is the component pressed against the shiny metal disc (the rotor) by the caliper.
- Shine your flashlight through the wheel spokes directly onto the caliper and pad.
- The pad will appear as a block of friction material pressing on either side of the rotor.
- Healthy pads should have at least 6 mm (about 1/4 inch) of friction material. If you see less than 4 mm (about 1/8 inch), replacement is recommended.
- Compare the pad thickness to the metal backing plate. If the friction material is as thin or thinner than the plate, the pad should be replaced immediately.
- If possible, check both the inner and outer pads, as sometimes only one wears more quickly.
5. Use a Mirror or Camera for Hidden Angles
- If you can’t see the inner pad, use the inspection mirror to look behind the caliper.
- Alternatively, use your phone’s camera to take close-up photos or record a video while moving the camera around the wheel opening.
- Review the images for uneven wear, cracks, or glazing.
6. Estimate Pad Thickness
- If you can reach, insert a thin ruler, straw, or zip tie into the gap beside the pad. Mark the depth, then measure it outside the wheel.
- Most manufacturers recommend replacing pads at 3 mm or less. Some suggest replacement at 4 mm for optimal safety.
7. Listen for Clues
- While parked, press the brake pedal. It should feel firm and not spongy.
- During a short drive, listen for squeals, grinding, or unusual noises when braking.
Understanding Brake Pad Thickness
Here’s a general guideline for pad thickness:
- New: 10–12 mm
- Good: 8–10 mm
- Moderate: 6–8 mm
- Replace Soon: 4–5 mm
- Replace Immediately: 3 mm or less
Driving on pads under 3 mm is risky and can damage your rotors, leading to costly repairs.
Tips for Specific Wheel Types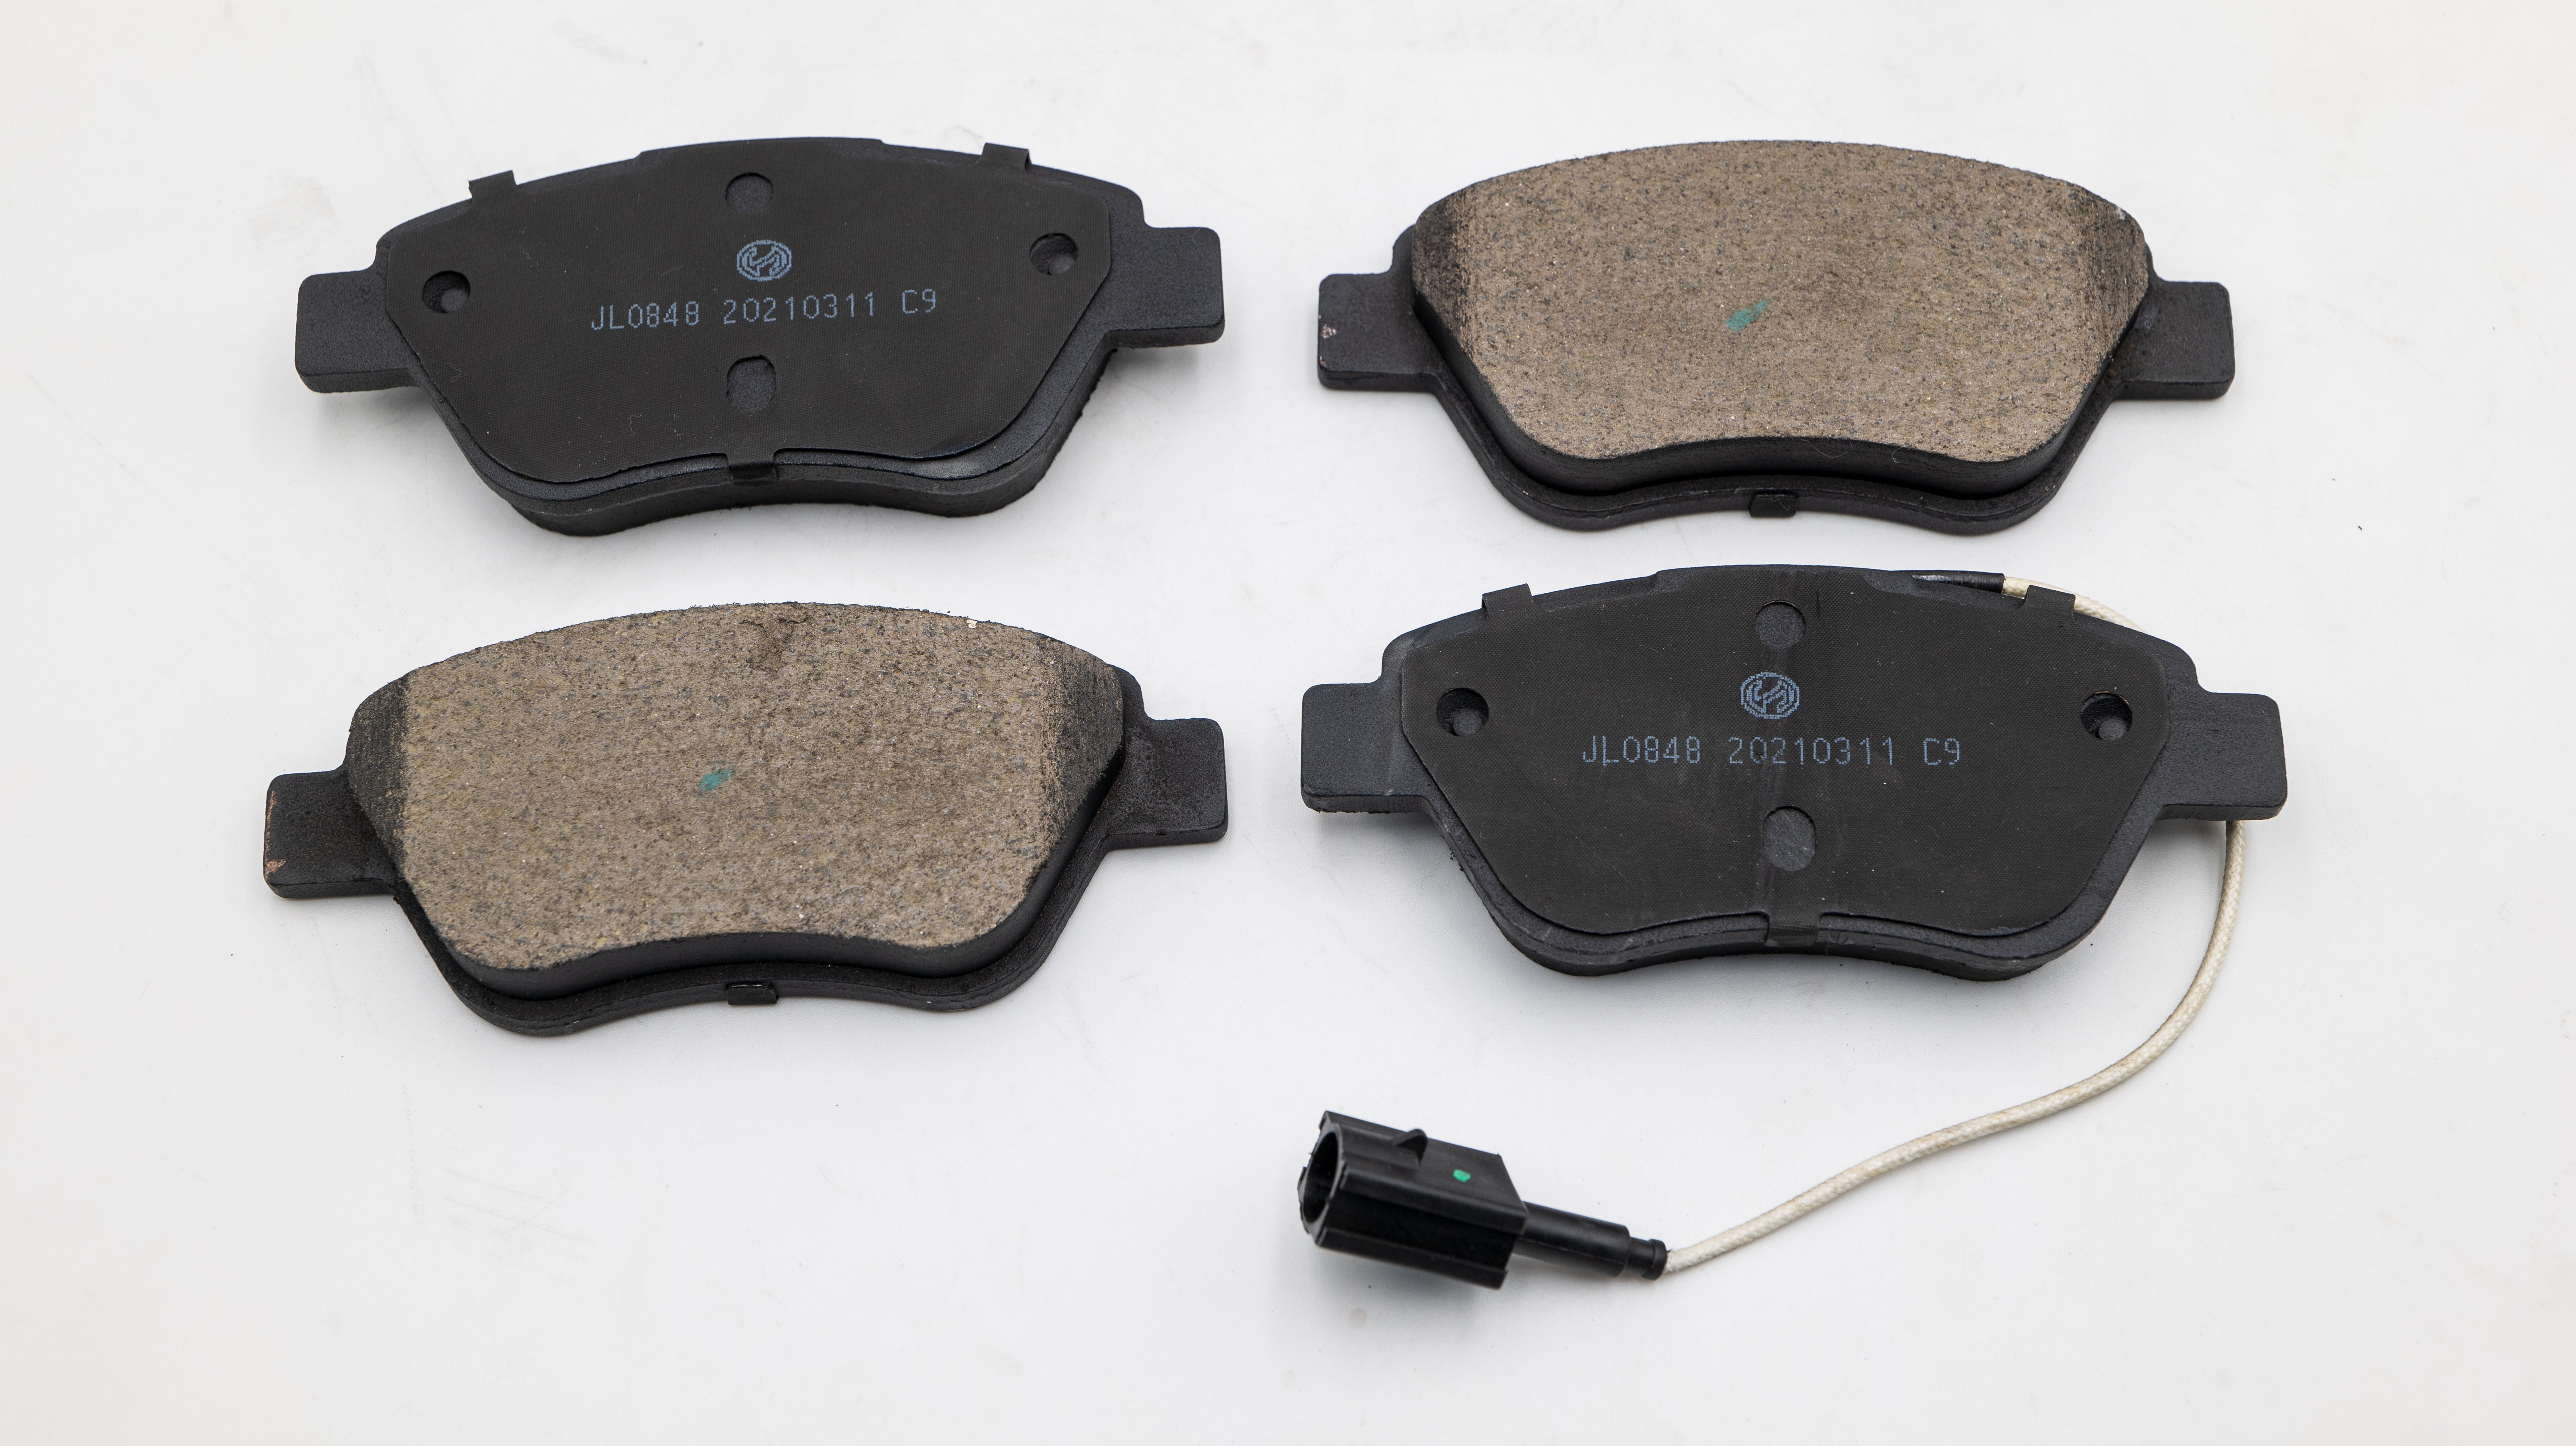
- Alloy Wheels: Open spokes make inspection easiest.
- Steel Wheels or Small Openings: Use a mirror or camera to see the pads.
- Dually Trucks and SUVs: Access may be limited; try rotating the wheel or inspect during tire rotation.
When Wheel Removal Is Necessary
While a through-the-wheel inspection is effective for routine checks, you may need to remove the wheel if:
Maintaining Brake Health Beyond Inspections
- Rotate tires every 5,000–8,000 miles for even wear.
- Flush brake fluid every two years to prevent corrosion and maintain performance.
- Avoid riding the brakes on long descents; use engine braking when possible.
- Have a professional inspection annually, especially for rear brakes or if you’re unsure about your findings.
Final Thoughts: Proactive Care for Safer Driving
Checking your brake pads without removing the wheels is an easy and effective way to stay on top of your vehicle’s safety. By making this a part of your regular maintenance routine, you’ll spot issues early, save money, and ensure your vehicle is always ready to stop safely. Always ensure at least 4 mm of pad material remains, and if you’re ever in doubt or notice abnormal noises or pedal feel, don’t hesitate to seek professional advice.
Stay proactive, drive with confidence, and remember: your safety starts with your brakes.


